Friday 2 July 2021

Typewriter paper support for a 1948 Remington Rand De Luxe Model 5

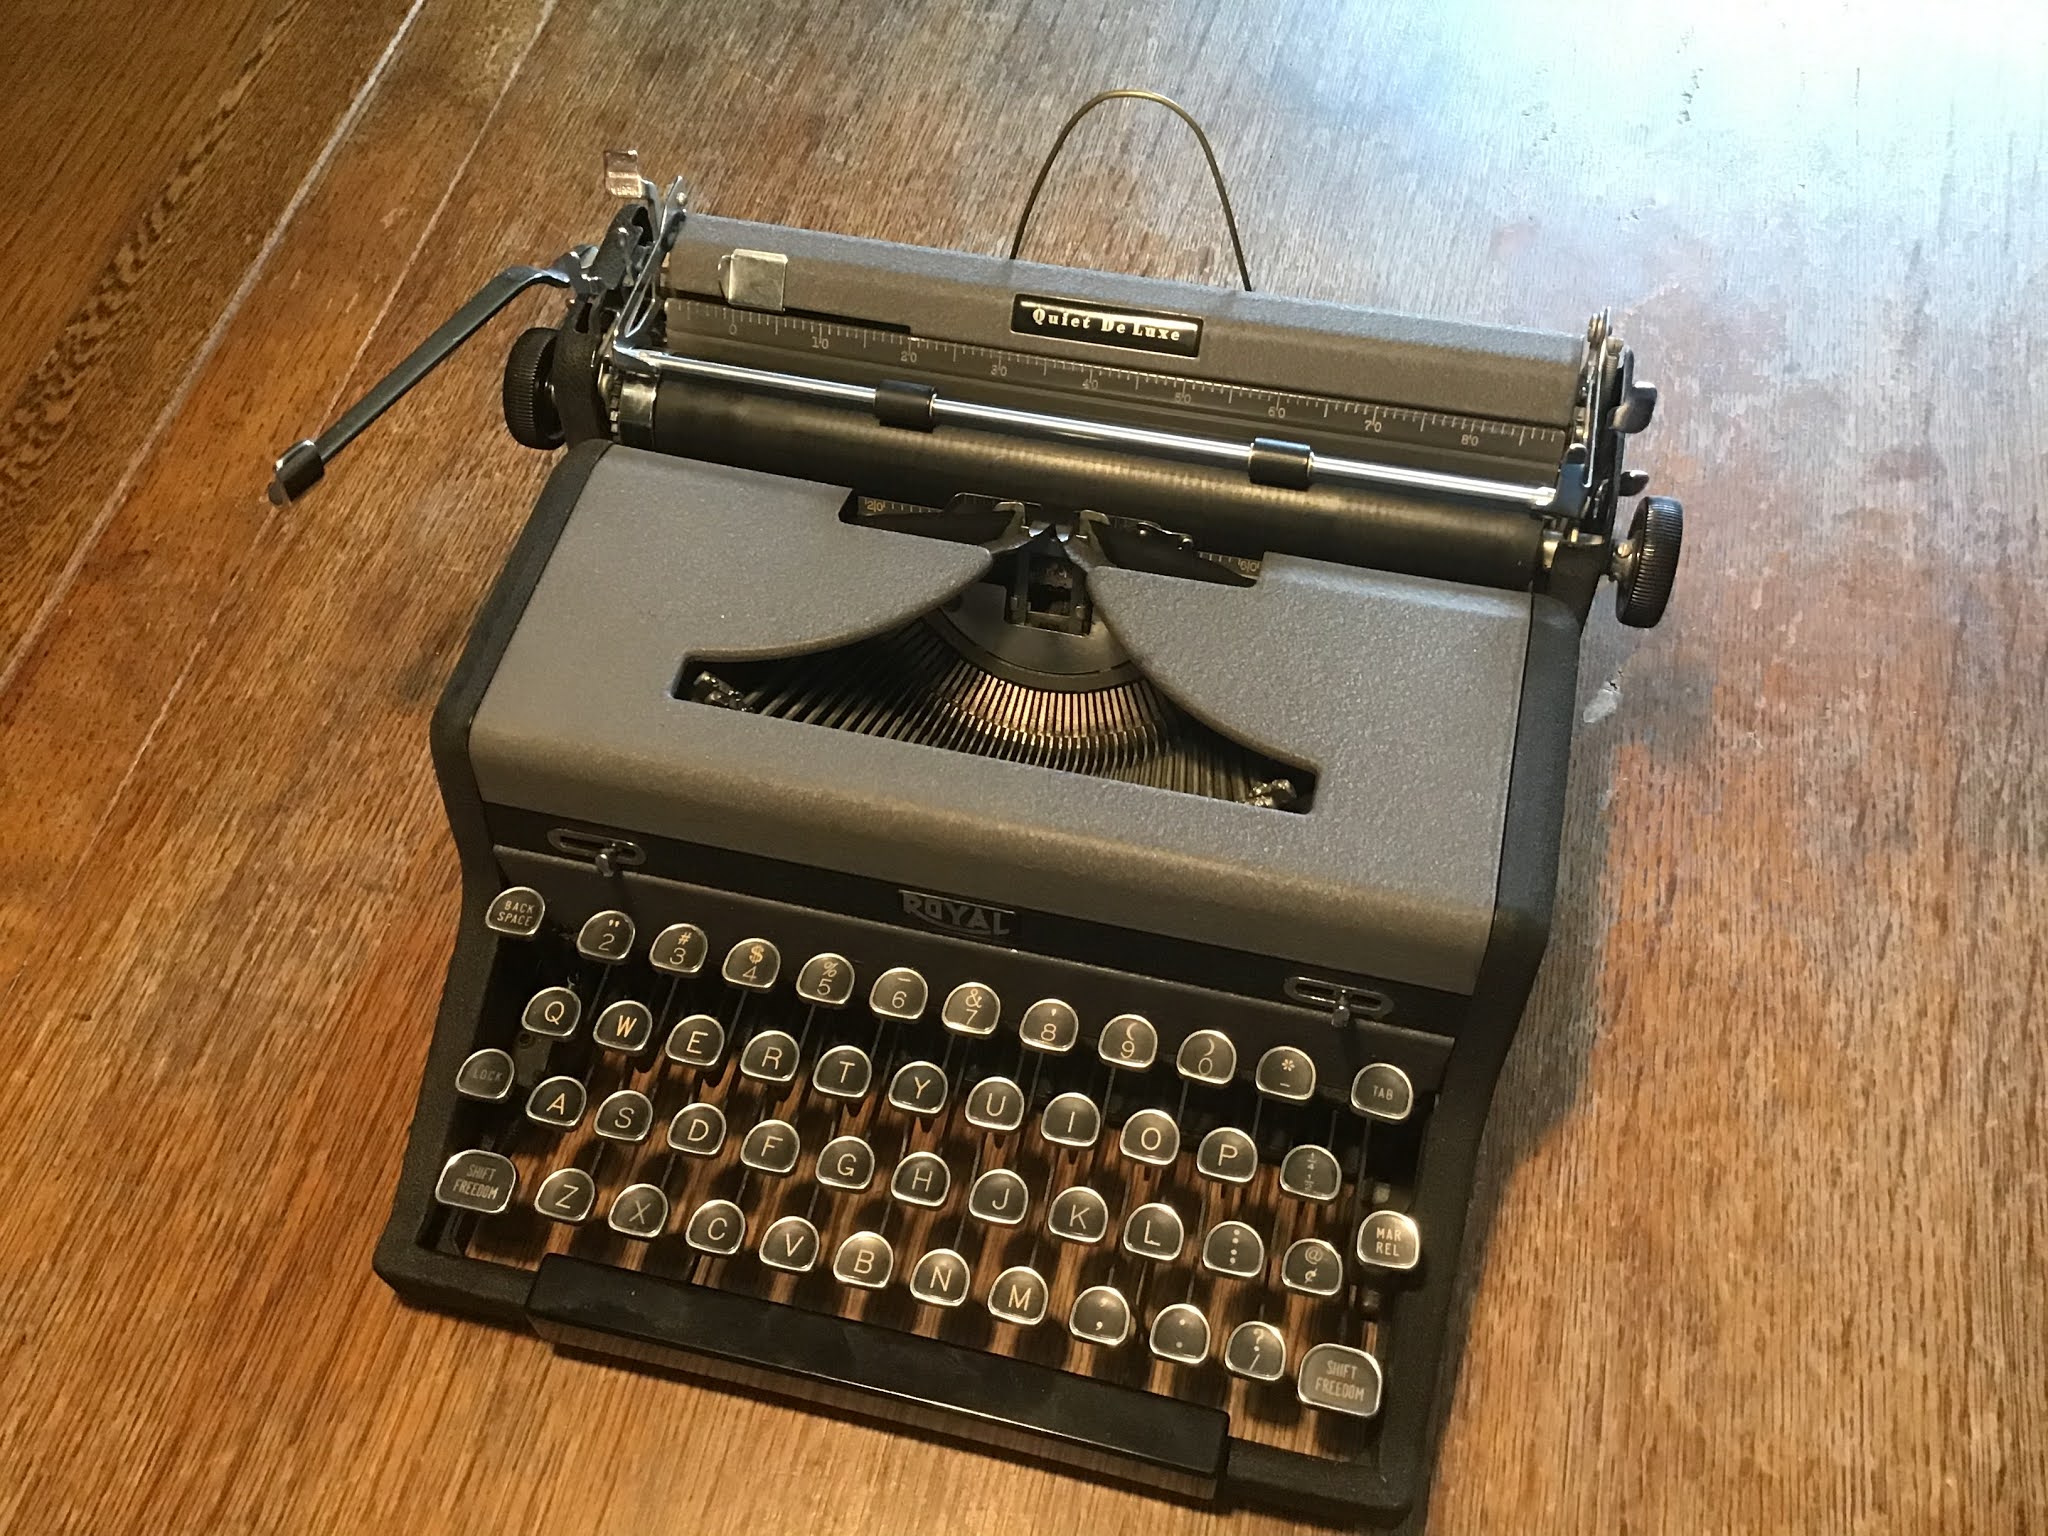
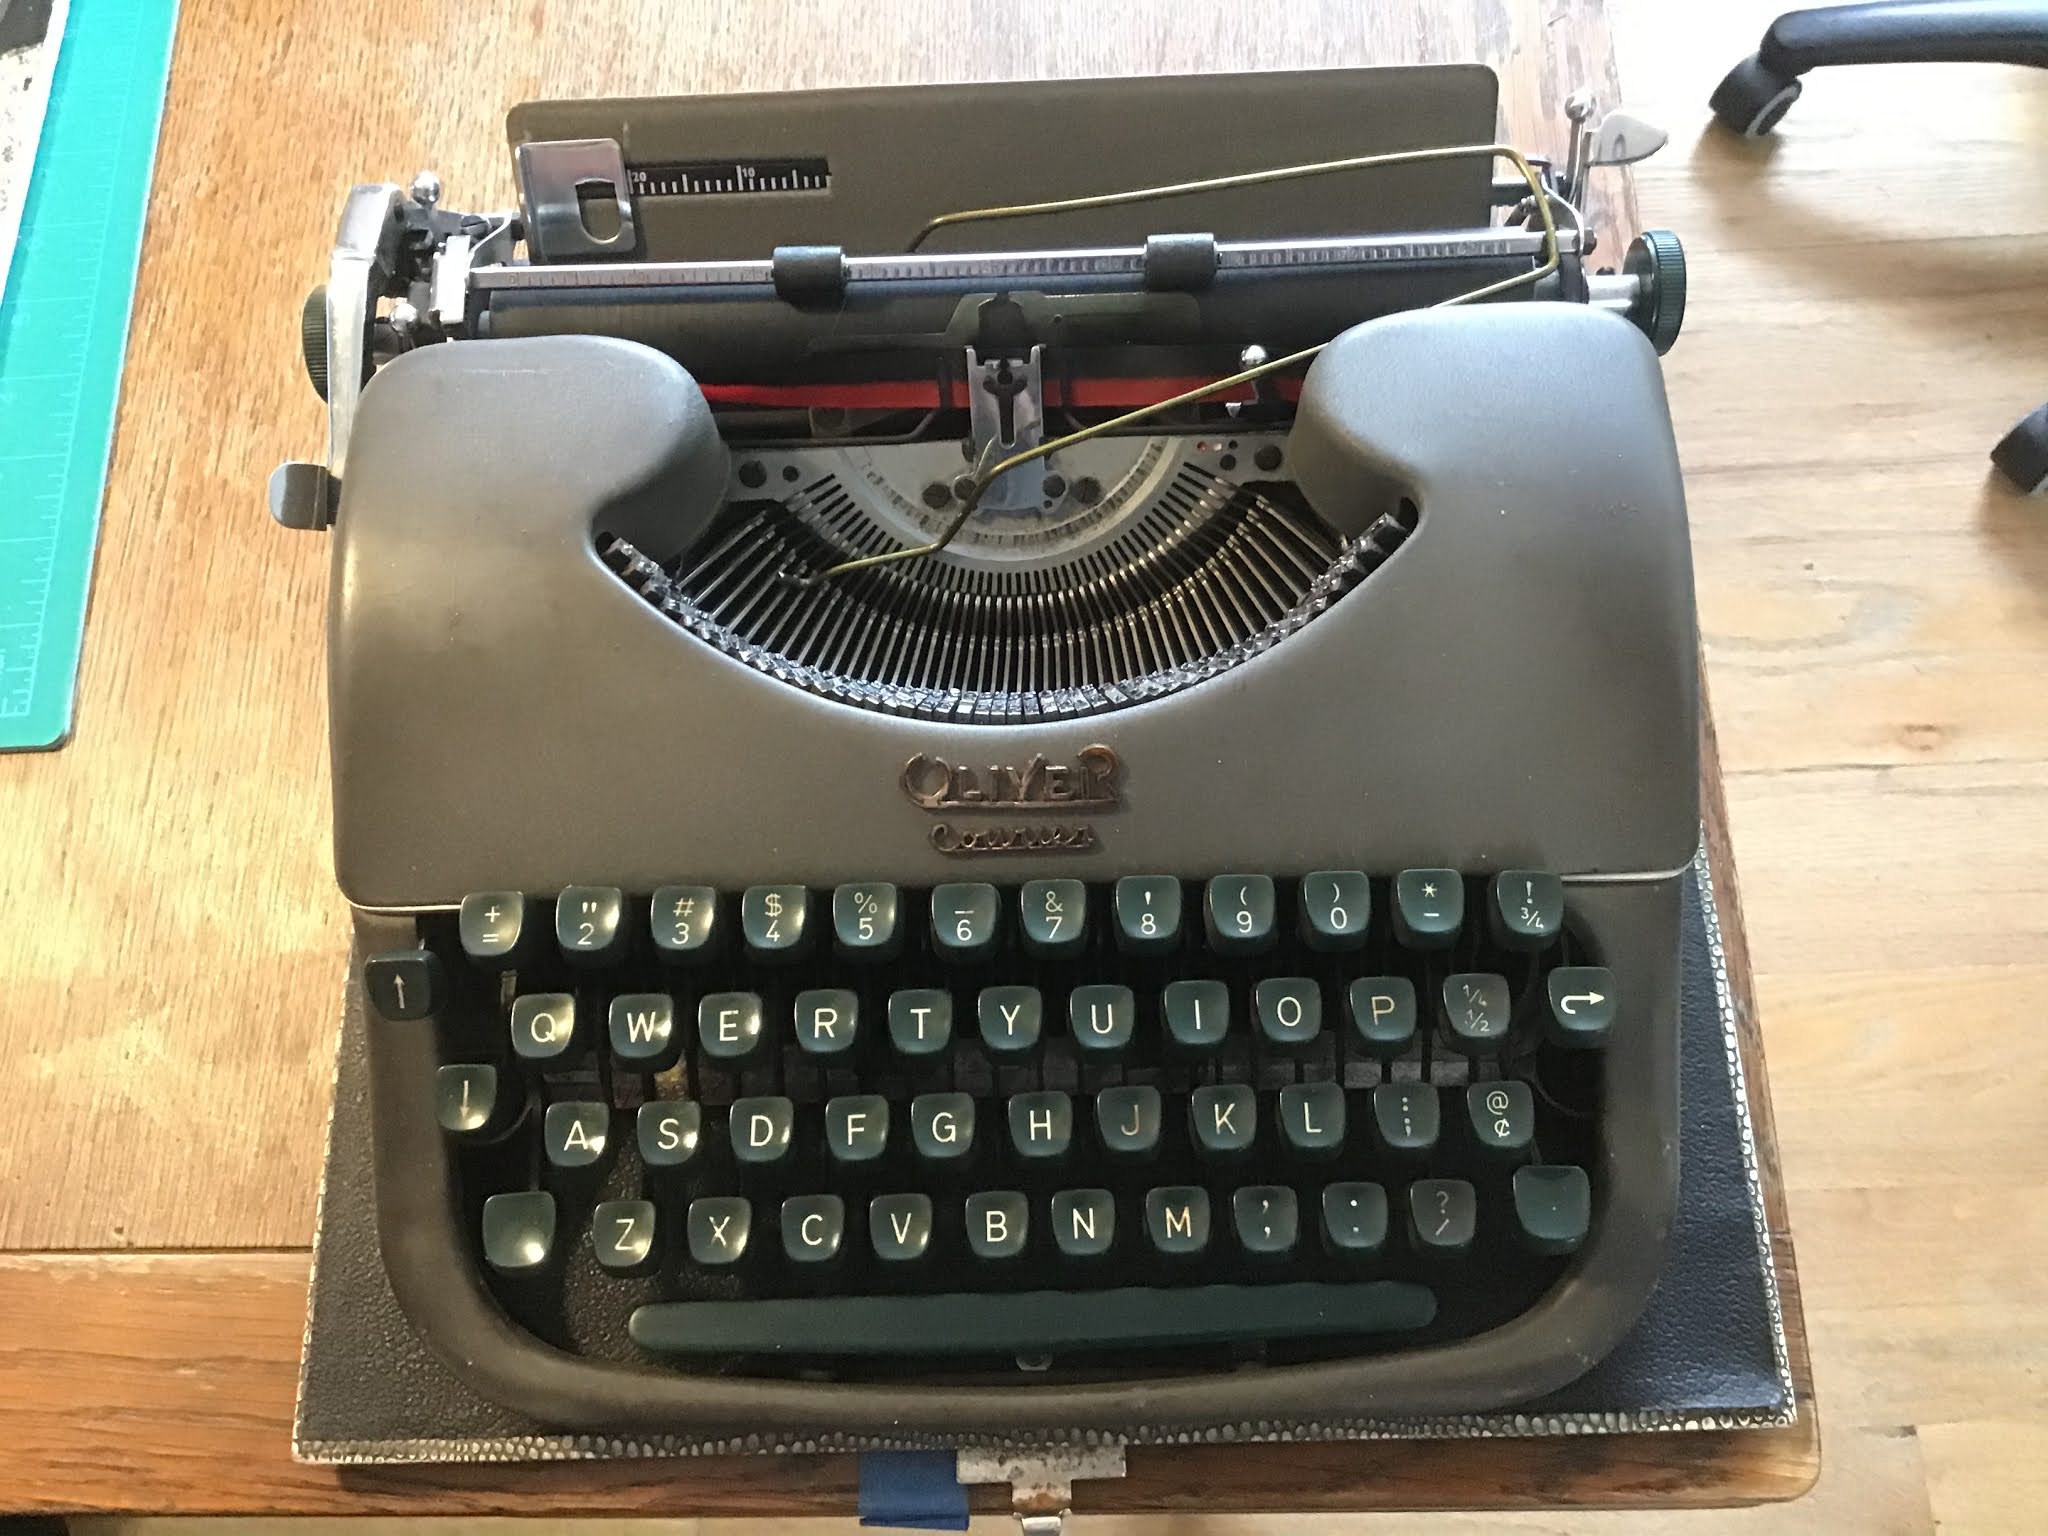
 This typewriter has it all - sophisticated shape, tried and tested mechanism, and it's fun to type with it.  The only thing missing is a paper support.


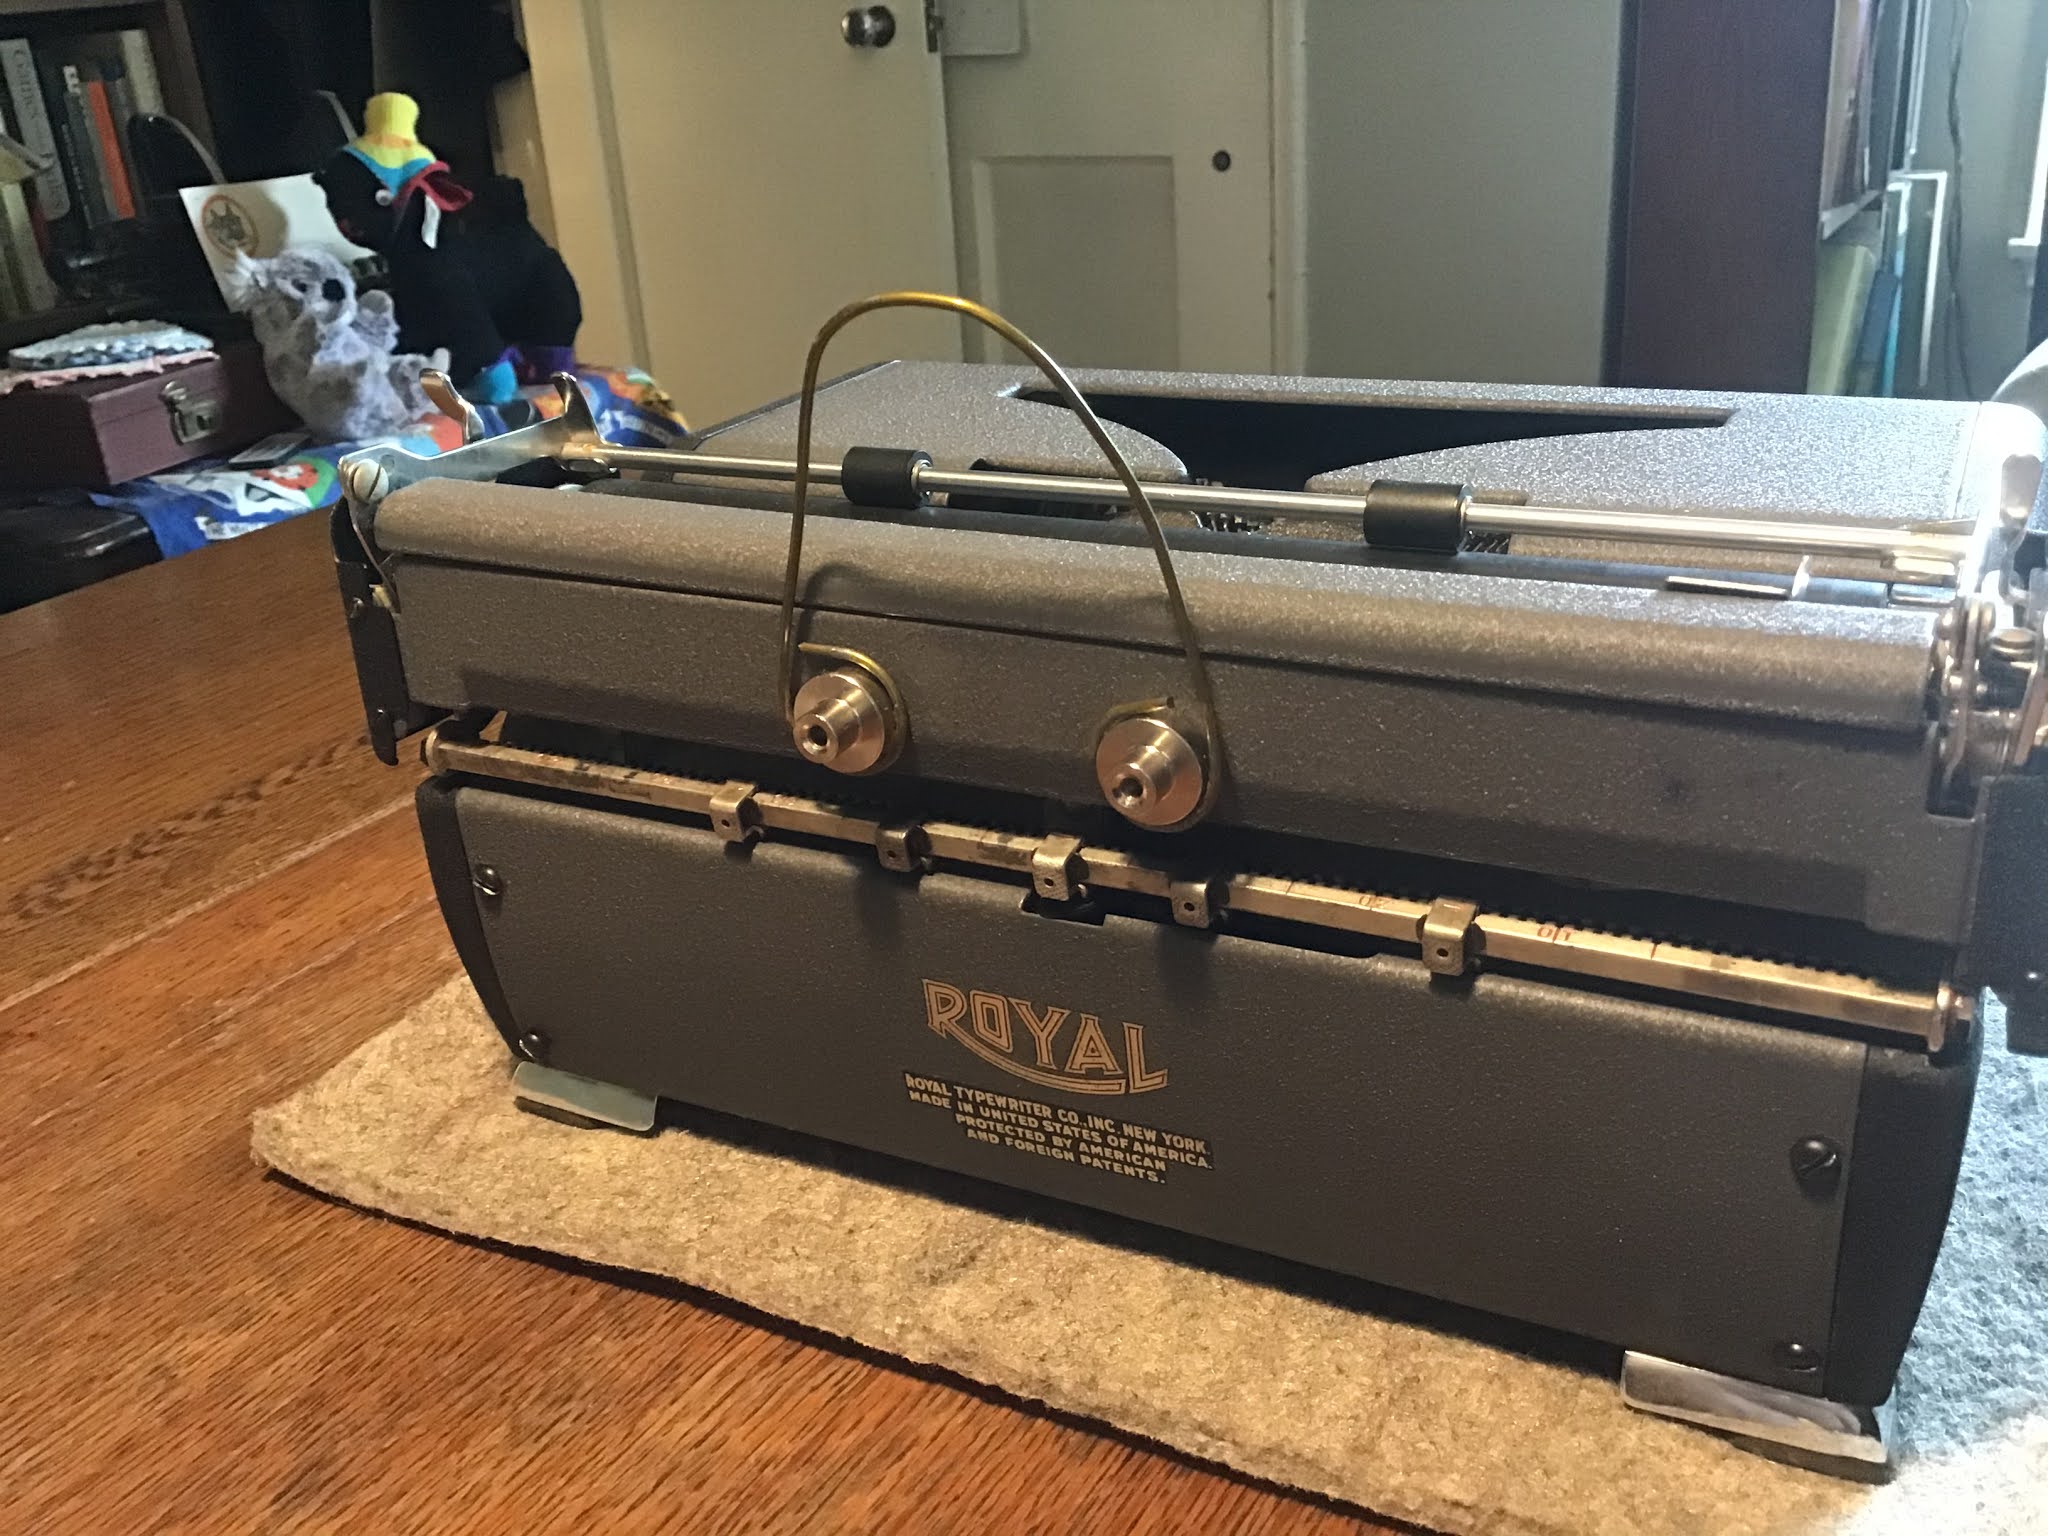
The back of the carriage is curved, offering nowhere to secure a paper support.  You can hinge it back to access the margin settings, but the springs on it are not strong enough to hold something in place between the back and the paper table.


This was a challenge.  I happen to have a Meccano set, as many people who like to tinker with things do, and if you don't have one of those, an Erector set will do just as well.  A 5 1/2” or 11 hole steel strip provided part of my testing kit.   A couple of 3/8” wide self-adhesive rare earth magnets gave me the the other parts (these were in a set of various sizes from Lee Valley Tools).  Without removing the red covering on the adhesive side, I experimented and found the right places for the magnets. There's enough magnetic force to work through the adhesive side during testing.
One is at one end of the strip, to contact the back of the paper table.


The other is part way up, on the other side, to contact the insude edge of the curved back of the carriage.


The trick now is to transfer the magnets onto a popsicle stick, also 3/8” wide.


Peeling off the red covers of the adhesive, the magnets are transferred to the same positions on the popsicle stick, one at a time.


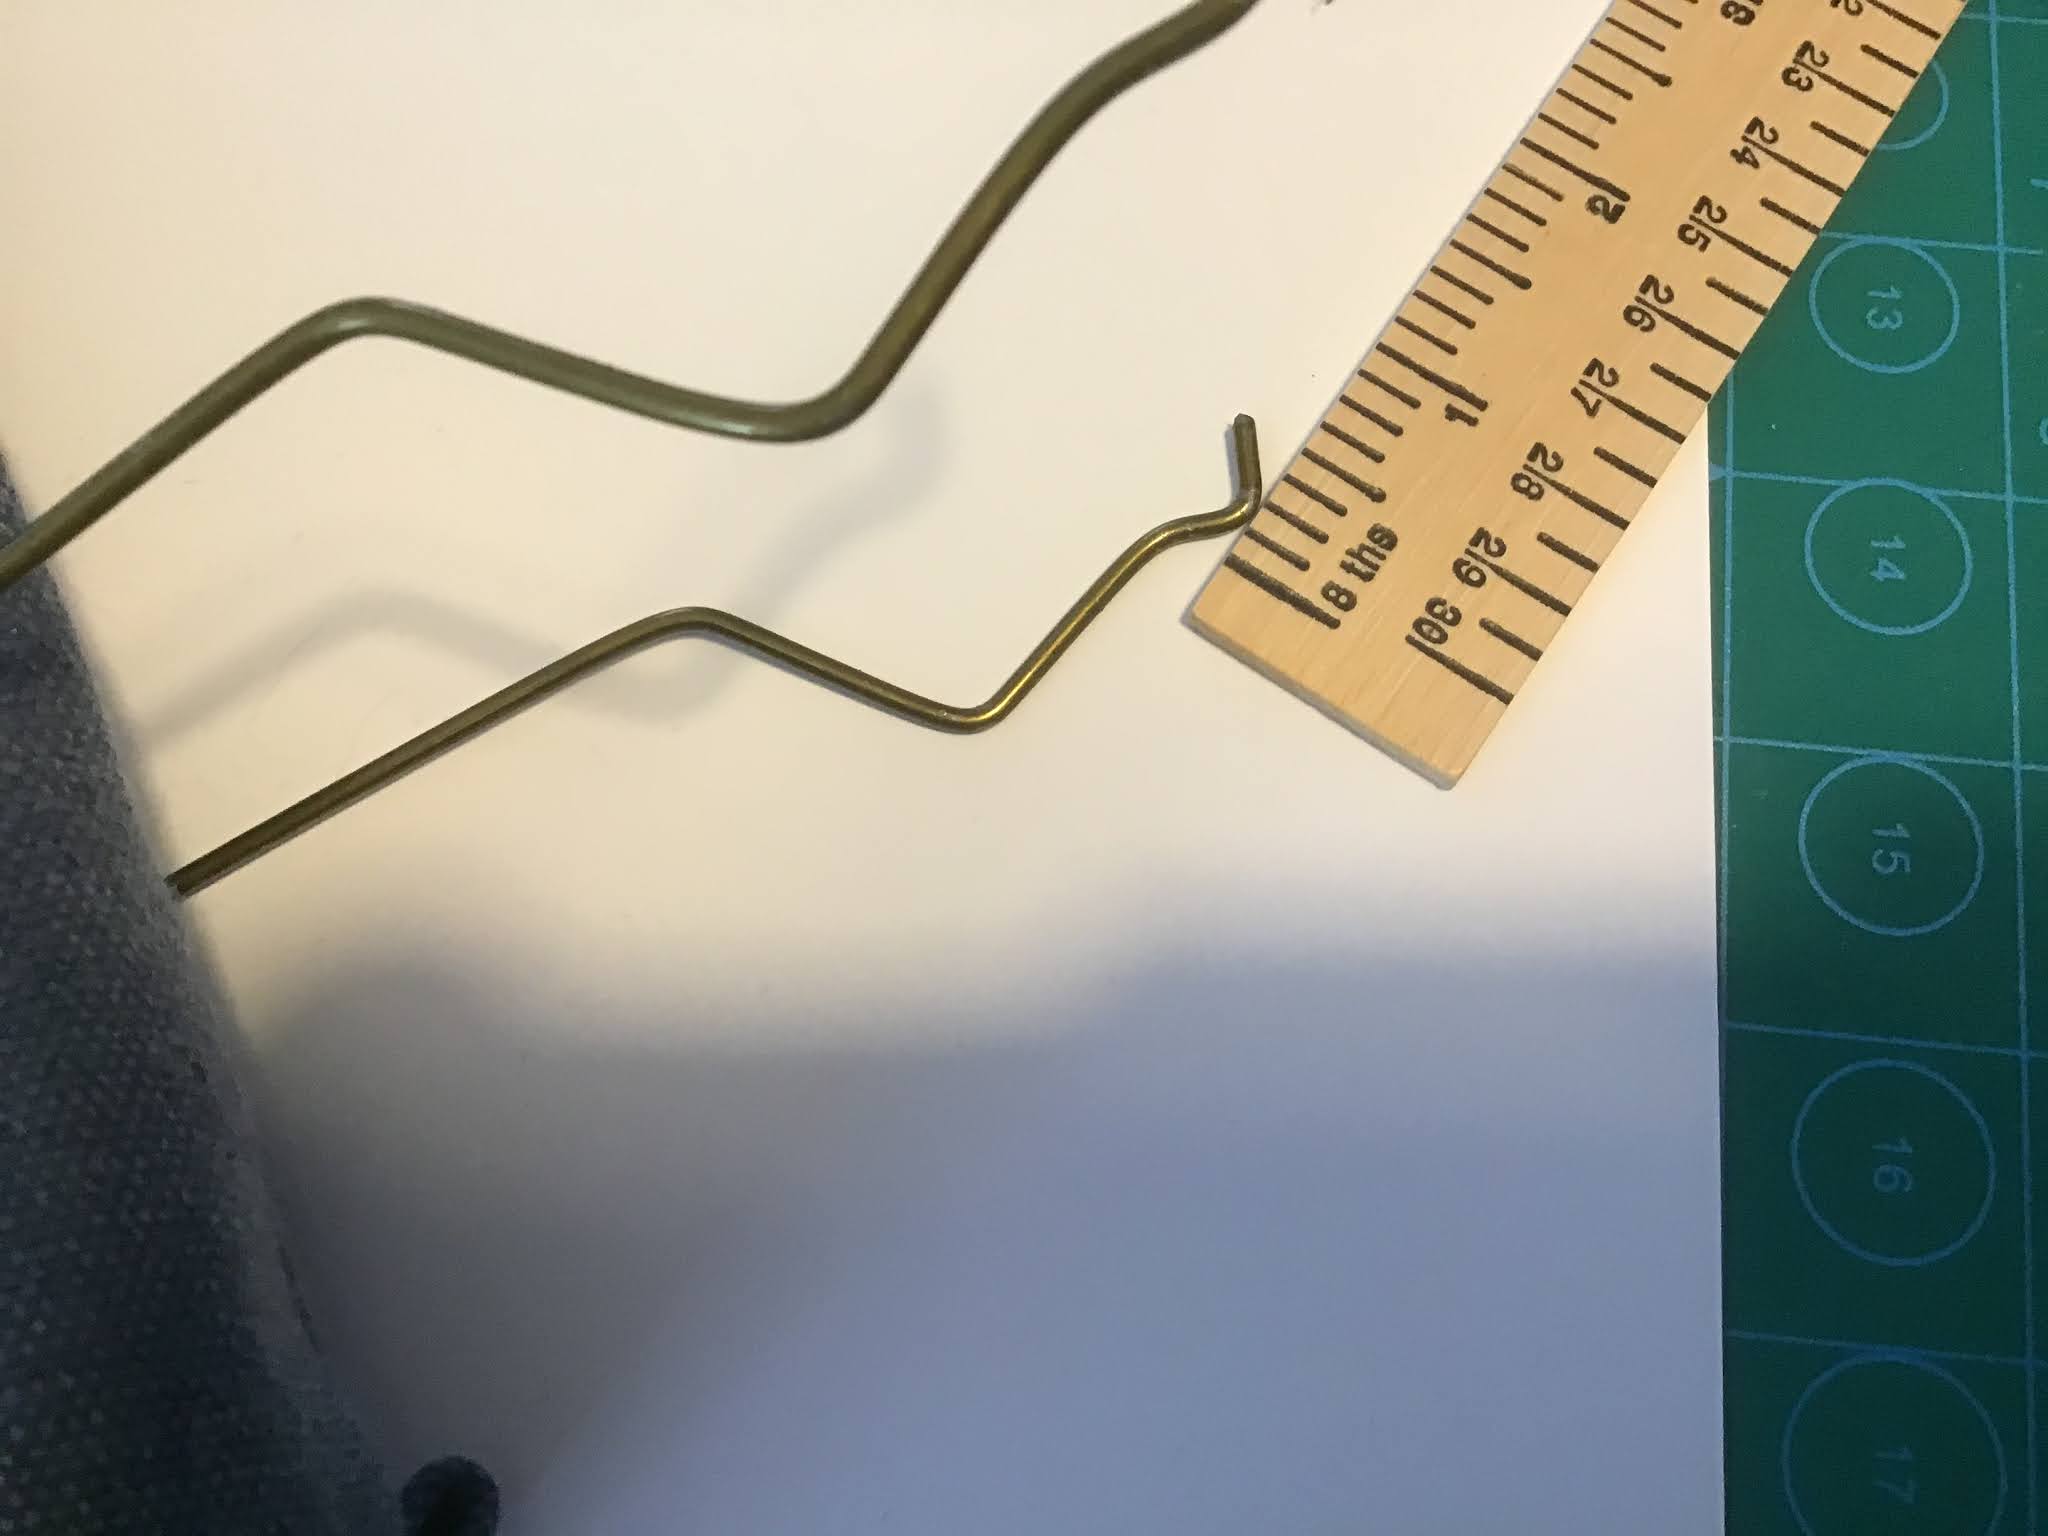
Be aware it is tricky to get the adhesive covers off if, like me, your fingernails are short.  In the end it works. Here are the two magnets glued in place.


Here's back of the carriage folded down with the stick held to the back of the paper table with the end magnet.


With the back of the carriage upright, its edge is in the middle of the other magnet.


Abracadabra, and you have a paper support!


When you want to take the support off, fold the back panel down and you can release the support.  For transportation in the typewriter case the support can be stuck to the side of the typewriter with either of the magnets.

Happy typing!


Tuesday 11 May 2021

Typewriter paper support for a Remington Rand Model 1, 1937

 In one way, this is the simplest typewriter paper support, for a typewriter that doesn't have one.  It is a Meccano or Erector Set flat strip, 11 holes by 3.  It slides between the rear paper table on the carriage, the one you need to fold back to change the tabs, and the rubber tubing that holds the tabs in place, and stops them falling off the tab rack when the typewriter is in its case. A similar piece of plastic, 5 1/2" by 1 1/2" and about the thickness of a credit card would do the same job.


The rubber tubing that holds the tabs in place may be old, cracked and crumbly, like the example here:


If that is the case, you will need to replace it.  Get a length of rubber tubing. I bought a couple of feet through Amazon.


This size is also handy for recovering some rollers.  To remove the rod with the old rubber on it, you need to remove two screws.  The top one holds the rod in place at the right hand end of the carriage. The bottom one holds the rod that the left hand paper guide slides on.  As you do this the spring that works the folding back top will disconnect, but you can refit this with a spring hook, or a piece of bent wire as part of the reassembly.


This shows the end of the spring resting on the rubber tubing:

The easiest way to get the old rubber off the rod is to crunch it with pliers, but do this over old newspaper or something similar so you don't drop the old rubber particles all over the place.

Withthe new tubing fitted, it is easy to change the tabs by folding back the top of the paper table. When folded down again, the tubing holds those tabs in place. And, of course, you can fit your paper support!


Thursday 6 May 2021

Typewriter paper support for a 1949 Royal Quiet De Luxe (Dreyfus Design)


The Henry Dreyfus designed Royal Quiet De Luxe is a very nice typewriter to use, but it has no paper support. With a piece of coathanger wire and two magnets, you can make one!  The magnets are the kind with 3/4” wide bases, and hooks screwed into them. I bought mine from Lee Valley Tools of Ottawa.

Unscrew the hooks so you just have the magnetic bases.  Let the two magnetic bases adhere to the back of the carriage, centering them under each end of the Quiet De Luxe badge, and making sure you can swing open the cover that hides the margin settings.

Take a piece of coathanger wire, about ten inches long, and straighten it with pliers. You can substitute a similar guage of wire, as long as it is ferrous (can be attracted by a magnet).  Make a loop with pliers at each end to go over the outside of the magnets.  Bend the middle into a smooth curve, until the two looped ends will go over the magnets.  Add a gentle backwards curve of maybe twenty degrees to align the support with the top of the carriage back.


Monday 8 March 2021

Typewriter - Adler J5, 1974, Replacement Feet


This Adler J5 is a lovely typewriter to use.  Everything about this machine was in good as new condition, including the cardboard typebar protector.  The only problem was the feet.


The replacement is in the same picture as the old foot.  The new ones came through eBay from Alltrade Supply of California. The description for them is in the screenshot below.  These come in a pack of 8.


The hole each foot needs to fit looks like this.


Put a drop of hand soap on the button, and with the foot at a slight angle, screw the button into the hole by hand.  The operation was easier than getting the pieces of the old feet out, without dropping them into the mechanism.  Here's the underside of the typewriter with all four new feet fitted.


Happy typing!

Saturday 13 February 2021

Typewriter paper support for an Oliver Courier, 1957


This British made Patria variant Oliver Courier typewriter is very portable, however it does not have a paper support.  This is annoying if what you have typed so far is not visible. There is a paper table at the back, and with this design I used an old wire coathanger, and a single small electrical zip tie.


At the back of the typewriter, there is paper release lever bar that runs the length of the carriage.  The zip tie is already in place on it in the picture. To the back of the machine, is the  toothed margin bar.  The coathanger paper support will tuck under the paper release bar and over the margin bar, to stick out at the same angle as the paper table.

The lengths and angles of the parts of the wire coathanger support are shown in the following pictures.  They are not  measured to the 1,000ths of an inch, and they don't have to be, which is good when you are bending wire.
 Here is the shape you are aiming for.  You need one side of a wire coathanger, minus the hook, to make this.  Bend one side at a time into shape, then follow what you have done on the other side.

The length of the support to the first bend is here.

Bend the wire up at the first bend to 120 degrees or so.

The second bend comes just after an inch.

The bend needs to be about 120 degrees again, back in the direction of the first side, close to parallel with it.

After about an inch and a quarter you make a hook.

This hook is only about half an inch, bend to end.

The distance between the two sides at the top is shown here.


Between the two hooks, the distance is shown here.

Fit the support in position like this.

When it is central, and you have tested it, add the zip tie to the left of the paper release bar, as seen from the back, but inside the left hand hook.  The tendancy is for the support to drift towards the carriage return lever end when you are typing, and the zip tie is enough to stop that.

In position, seen from the right, the support looks like this.

This shows it follows the angle of the small paper table, and supports the paper as you type.

Rear view.

When you put the typewriter back in its case, the support can rest on the platen and the typebars like this.

It will clear the lid of the case when you replace it.


Happy typing!


Sunday 7 February 2021

Typewriter paper support for an Underwood Champion 1950


This Underwood Champion is a nice typewriter to use, with a nicely designed shape.  What it doesn't have is a paper support to stop the paper flopping down the back of the carriage, so you can't see what you typed a few minutes ( or hours) ago.

Looking at the carriage from the front, you see a pair of slots, separated by about an inch or so. At the back there are two slots that align with the front ones.
Moving the carriage using the carriage release levers to the left and the right, you can see through the slots from the front.  There is nothing between them that would be damaged by threading something through those slots.

Looking at different options, good garden wire, like this, will slide through those slots.

The following measurements do not have to be exact.  Cut a length of around  14", and bend it by hand into this shape with sides about 6 1/2",

and the short piece just over an inch.

Site this shape in front of the carriage like this.

Push the ends through the slots.

Now bend the front part upwards to form a paper support.  The soft, plastic-covered wire will not hurt the finish, or scratch the metal.

Roll in some paper, and type away.  The wire is strong enough to hold up your paper.

When not in use, the paper support can be pulled from the slots, and left on top of the platen roller in the typewriter's case.
Happy typing!