This typewriter has it all - sophisticated shape, tried and tested mechanism, and it's fun to type with it. The only thing missing is a paper support.
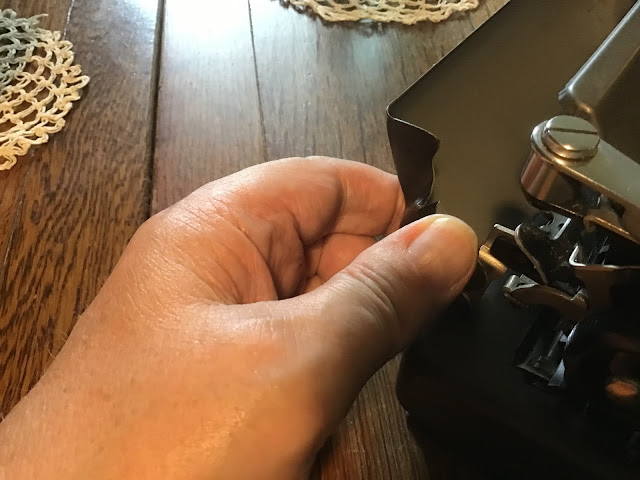
The back of the carriage is curved, offering nowhere to secure a paper support. You can hinge it back to access the margin settings, but the springs on it are not strong enough to hold something in place between the back and the paper table.
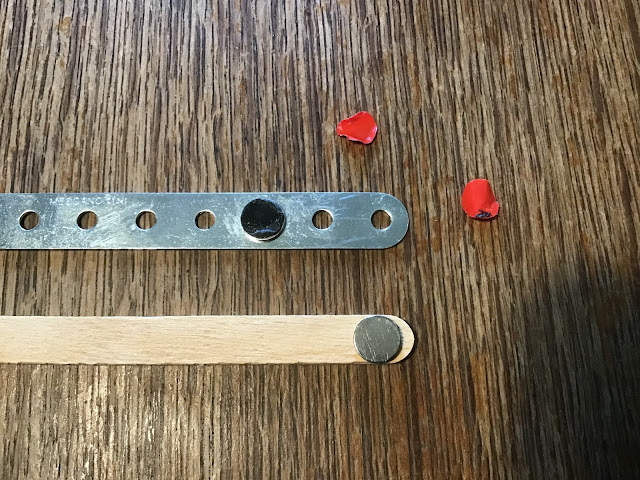
This was a challenge. I happen to have a Meccano set, as many people who like to tinker with things do, and if you don't have one of those, an Erector set will do just as well. A 5 1/2” or 11 hole steel strip provided part of my testing kit. A couple of 3/8” wide self-adhesive rare earth magnets gave me the the other parts (these were in a set of various sizes from Lee Valley Tools). Without removing the red covering on the adhesive side, I experimented and found the right places for the magnets. There's enough magnetic force to work through the adhesive side during testing.
One is at one end of the strip, to contact the back of the paper table.
The other is part way up, on the other side, to contact the insude edge of the curved back of the carriage.
The trick now is to transfer the magnets onto a popsicle stick, also 3/8” wide.
Peeling off the red covers of the adhesive, the magnets are transferred to the same positions on the popsicle stick, one at a time.
Be aware it is tricky to get the adhesive covers off if, like me, your fingernails are short. In the end it works. Here are the two magnets glued in place.
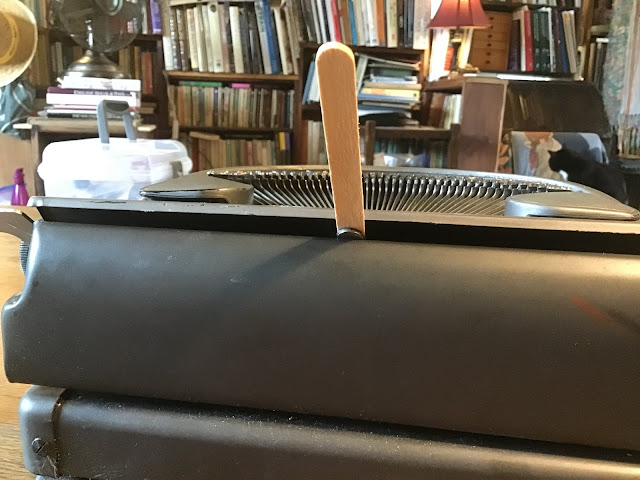
Here's back of the carriage folded down with the stick held to the back of the paper table with the end magnet.
With the back of the carriage upright, its edge is in the middle of the other magnet.
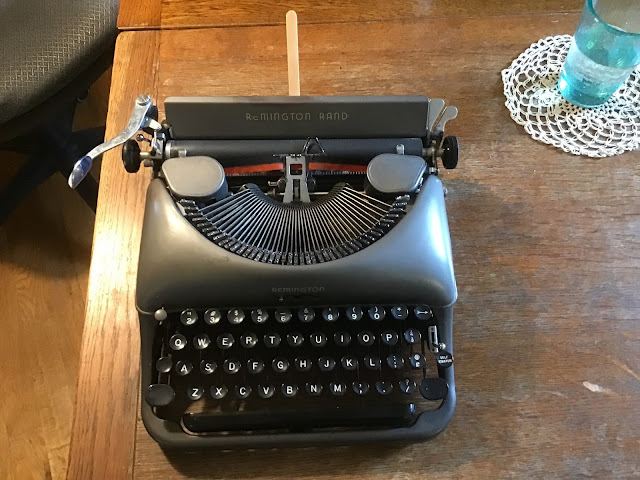
Abracadabra, and you have a paper support!
When you want to take the support off, fold the back panel down and you can release the support. For transportation in the typewriter case the support can be stuck to the side of the typewriter with either of the magnets.
Happy typing!


Clever again! :D
ReplyDeleteThanks Ted, These are fun to work out!
ReplyDelete